")
Introduction
This short tutorial is going to cover a quick setup of RainLoop Webmail setup on Ubuntu 16.04 with Nginx and PHP7. RainLoop is a simple, modern, fast and open source Web-based email client written in PHP.
RainLoop Webmail Setup on Ubuntu 16.04
Create the directory (usually somewhere in /var/www/ tree) and install:
$ apt install php-curl php-dom
$ mkdir rainloop
$ cd rainloop
$ curl -s http://repository.rainloop.net/installer.php | php
You might end up with error:
$ curl -s http://repository.rainloop.net/installer.php | php
#!/usr/bin/env php

[RainLoop Webmail Installer]

* [Error] The following PHP extensions are not available in your PHP configuration!
* cURL, dom
In that case install php7.0-curl, and retry:
$ apt-get install php7.0-curl
Change folder ownership (/var/www/rainloop/):
$ sudo chown www-data:www-data /var/www/rainloop/ -R
Step 2: Configure Rainloop
Log into RainLoop admin panel via the URL (depending on where you placed that directory):
example.com/rainloop/?admin

Default username is admin and default password is 12345.
Once you log in, it’s recommended to change both your username and password since admin is an easy target. Click the security tab on the left panel and update them.
First, you need to configure email server(s) settings in the Domains tab. By default , there are 4 email domains: gmail.com, outlook.com, qq.com, yahoo.com. Adjust appropriate parameters by yourself.

Based on previous tutorial ( Mail server setup ), we are going to add our own domain. Fill appropriate fields and click test. As usual, things rarely go straightforward. If you encounter some problems, check your Postfix/Dovecote configs, pay attention to your netstat -tulpn info, what’s listening and where. In our case here, there is no problem, we intetionally disable STARTLS (143) port to force users on more secure SSL/TLS.

By default, postfix/dovecot users need to be whitelisted in rainloop before they can login. Go to Rainloop Admin panel -> Domains, select the specific domain, click “White List” and insert usernames separated by space.
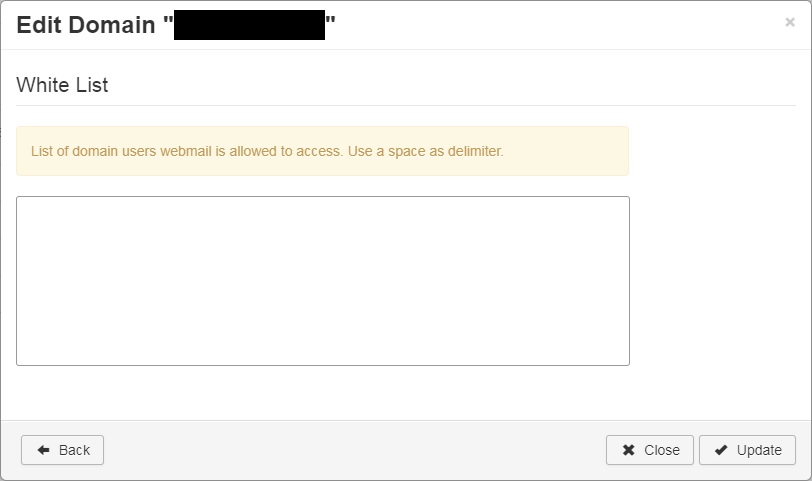
Depending if you selected “short user login” or not (in cases where you have multiple domains relying on the mail server/rainloop), use full email address or just the username.
Rainloop customization
Rainloop is pretty customizable, with ability to adjust:
- Frontend skin, Titles, Descriptions, Logo,
- Signatures in your replies
- Plugins / Packages
- Email Filtering (with Dovecot Sieve)
- Multiple accounts
- Social networking platforms (FaceBook, Twitter, Google)
To enable contacts, you’ll need a MySQL db, so create one:
create database rainloopdb_contacts;
GRANT ALL PRIVILEGES ON rainloopdb_contacts.* TO 'rainloopuser'@'localhost' IDENTIFIED BY 'rainloop_user_password';
flush privileges;
With that being set, go into Admin Panel -> Contacts and set the storage to MySQL:

Insert your credentials and test it.
Conclusion
Not much to say here. Rainloop is one of the best free web based email clients out there. Easy setup, easy management, it simply gets the job done right.


![BIND Compile and Setup with DNSTap [v9.1x]](https://cdn.cyberpunk.rs/wp-content/uploads/2019/04/bind_bg-500x275.jpg "BIND Compile and Setup with DNSTap [v9.1x]")